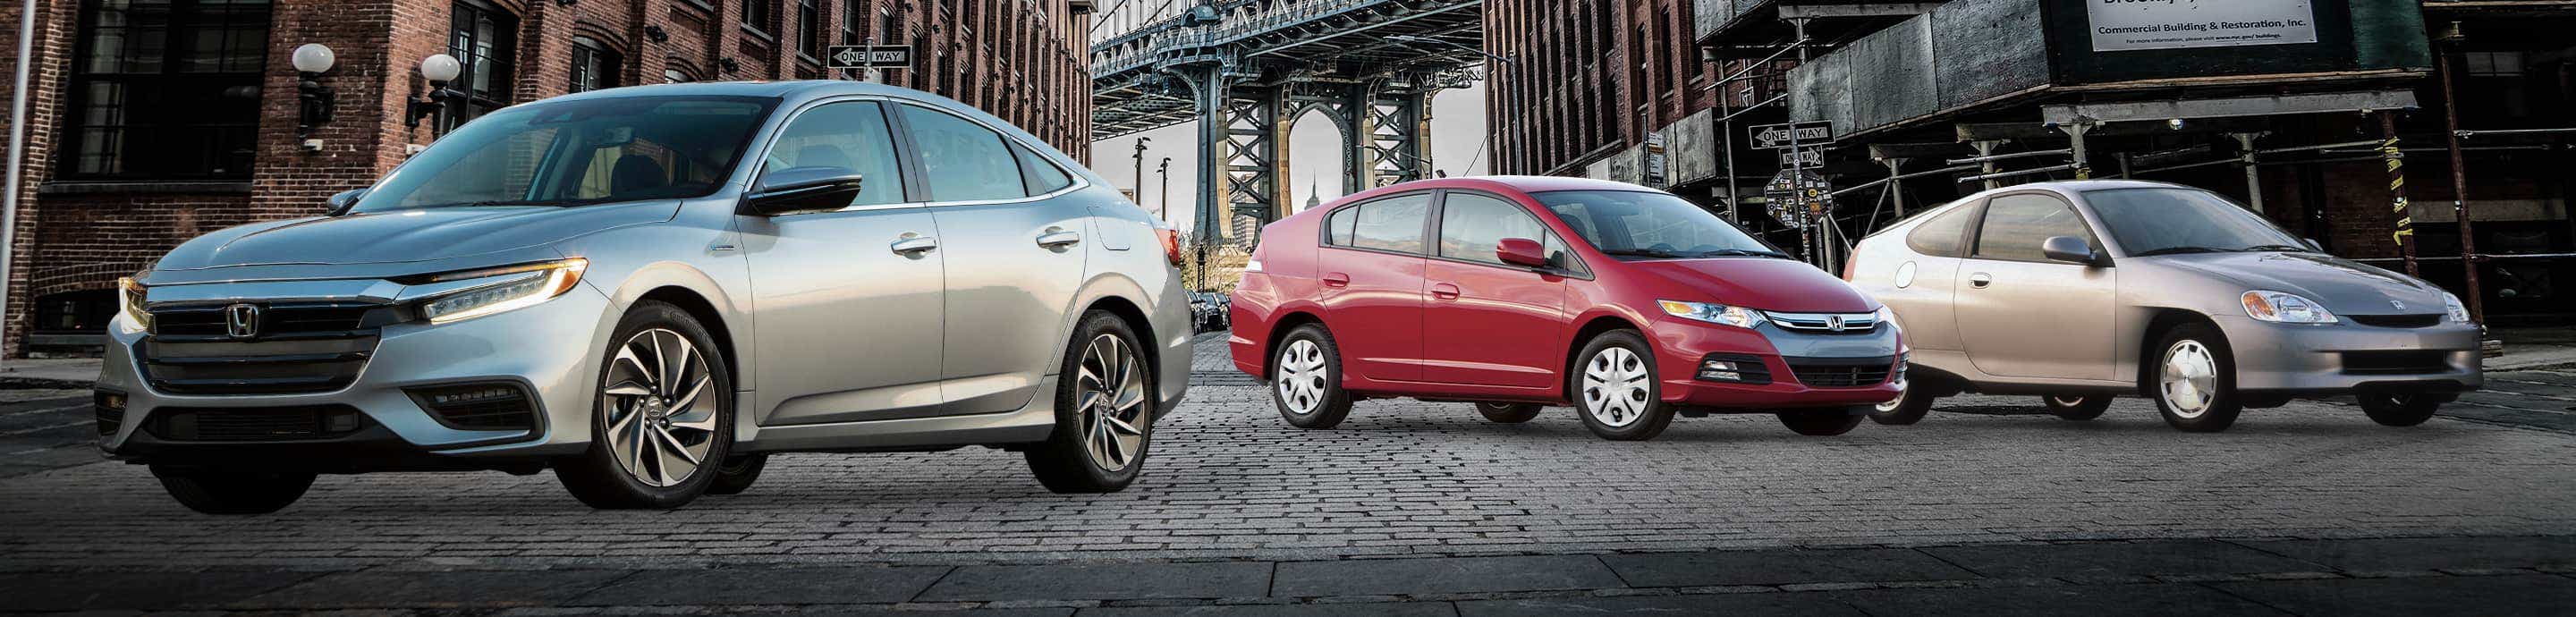

Hey everyone. This is going to be my build thread for my 2001 Silver Insight. I plan to modify almost every aspect of the car in search of the ultimate Insight cruiser/Track Toy.
The goal of this project are as follows;
- 12.50 1/4 mile times
- 50-55 MPG on highway trips
- 1G skid pad handling on street tires (RS-3, StarSpecs, Rivels)
- Long distance driving in comfort
- Well integrated Infotainment center
- A/C, Heat, ABS, Power steering are all required.
With those ever lofty goals in mind....Please don't laugh at me, Haha. Here are the parts I have already acquired and some I plan to acquire in order to meet these goals.
Engine:
K24A2 out of a TSX
RBC intake from a 06-11 Civic Si
50 degree VTC Actuator
K-tuned Swap Header
Custom 2.5in exhaust
Aftermarket Cruise Control
Kpro V4 Ecu
Custom Engine Harness
Innovate Engine Mounts
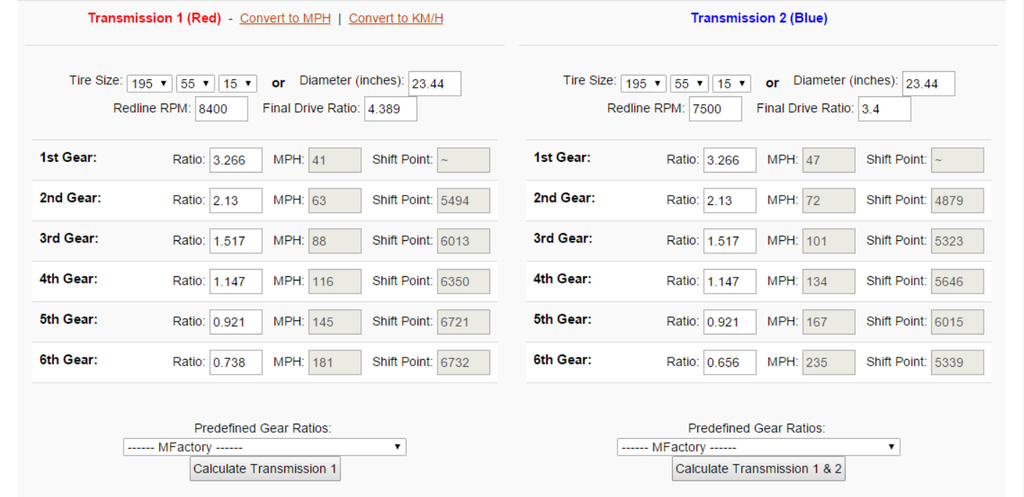
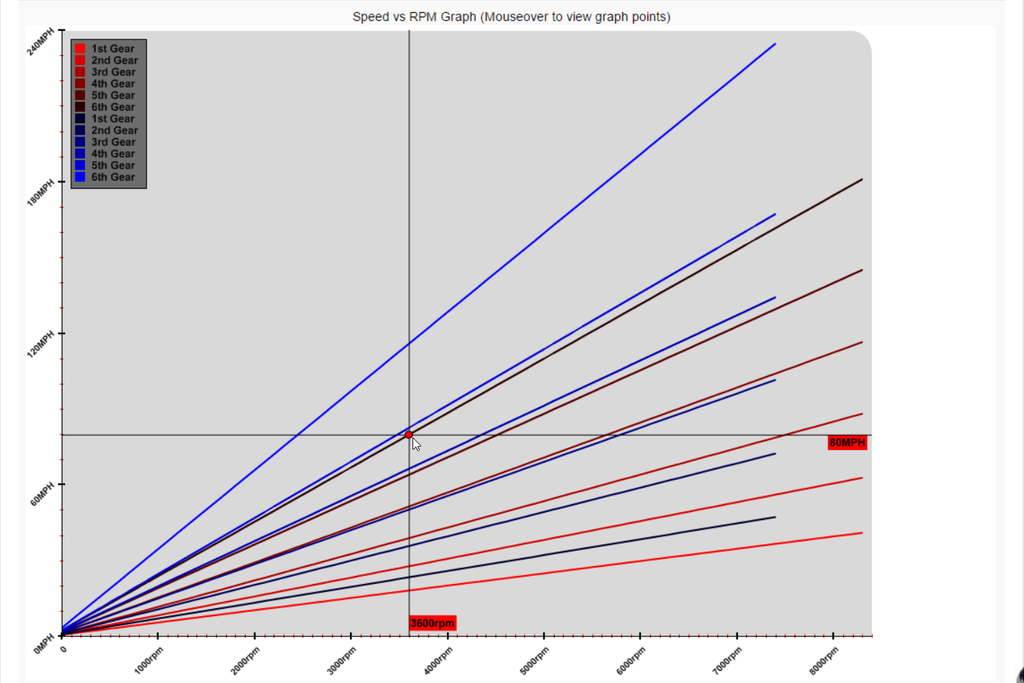
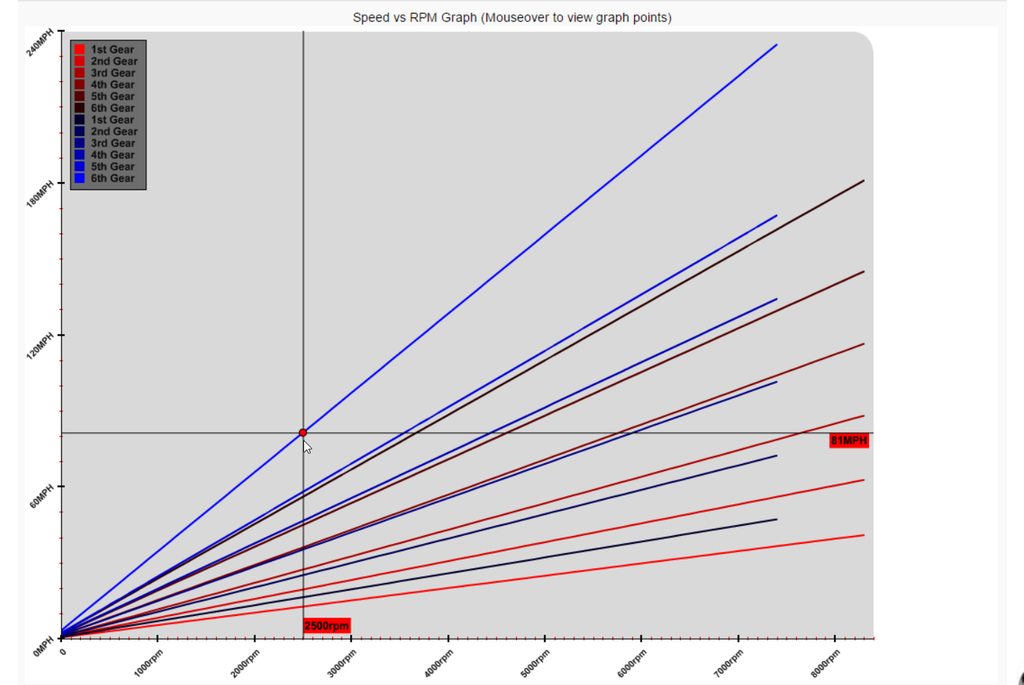
Transmission:
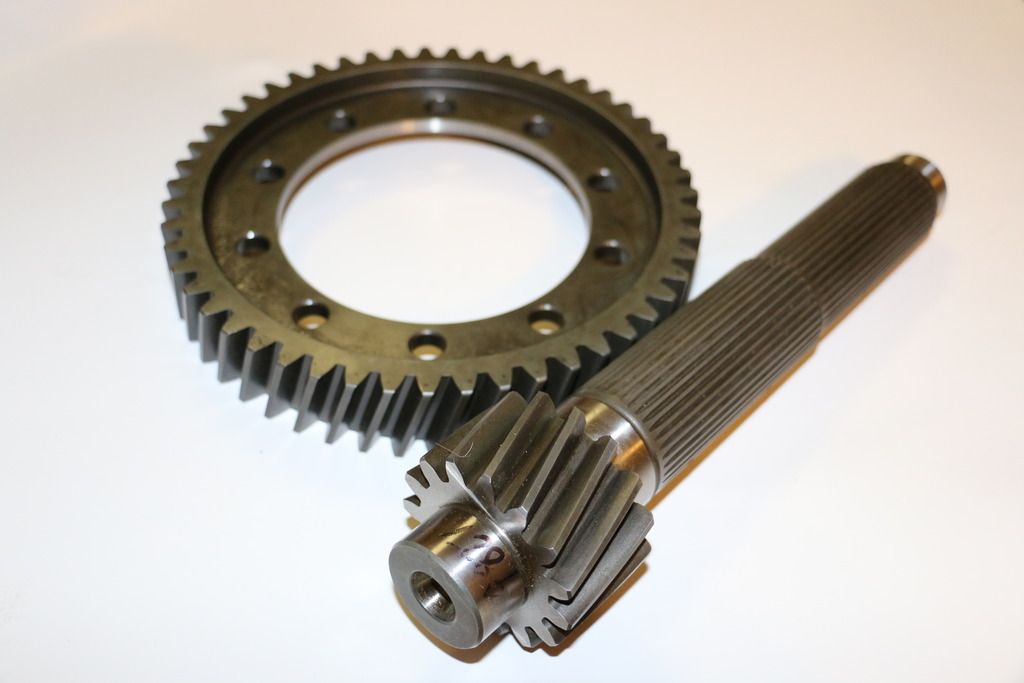
K20 RSX transmission
Custom hardened gear set
Carbon syncros
Stock 06-11 Civic Si LSD
TSX longer 6th gear
Custom 3.4 Final Drive
Suspension:
Custom Fortune Auto front Coilovers with special valving
4K swift springs
Custom front camber plates
Custom swift Rear springs
GAZ rear shocks
Modifed front control arms to accept 02-05 Civic Si ball joint
Custom rear sway bar
Custom front sway bar and mounts
Brakes:
02-05 Civic Si front calipers
Slotted Rotors
Bosch High Performance Pads
Interior:
S2000 seats on custom rails
S2000 Steering wheel
S2000 gauge cluster
Custom Infotainment center (Tablet integration)
Window tint primarily for UV protection
Custom rear interior paneling to fill battery hole
500 Watt amp
8 Infinity Speaker Sound System
Battery Relocation to rear
HID Retrofit (not really interior but whatever, it fits no where else)
Wheels and Tires:
Kosei K1 15X7 wheels
200 TW tire, Undecided.
This is my build so far, I would say that I am about 40% of the way through this project as of right now. I have most of the parts on hand and am gathering more and more each day. I just want a great cruising car that will also get great gas mileage. I want it to be at home on the street as it is on the track. I know this is a lofty goal but I think I have the parts and the know how to do it. Even if I don't quite make it there I will still have one fun Insight to mess around in.
Stay Tuned.....
The goal of this project are as follows;
- 12.50 1/4 mile times
- 50-55 MPG on highway trips
- 1G skid pad handling on street tires (RS-3, StarSpecs, Rivels)
- Long distance driving in comfort
- Well integrated Infotainment center
- A/C, Heat, ABS, Power steering are all required.
With those ever lofty goals in mind....Please don't laugh at me, Haha. Here are the parts I have already acquired and some I plan to acquire in order to meet these goals.
Engine:
K24A2 out of a TSX
RBC intake from a 06-11 Civic Si
50 degree VTC Actuator
K-tuned Swap Header
Custom 2.5in exhaust
Aftermarket Cruise Control
Kpro V4 Ecu
Custom Engine Harness
Innovate Engine Mounts
Transmission:
K20 RSX transmission
Custom hardened gear set
Carbon syncros
Stock 06-11 Civic Si LSD
TSX longer 6th gear
Custom 3.4 Final Drive
Suspension:
Custom Fortune Auto front Coilovers with special valving
4K swift springs
Custom front camber plates
Custom swift Rear springs
GAZ rear shocks
Modifed front control arms to accept 02-05 Civic Si ball joint
Custom rear sway bar
Custom front sway bar and mounts
Brakes:
02-05 Civic Si front calipers
Slotted Rotors
Bosch High Performance Pads
Interior:
S2000 seats on custom rails
S2000 Steering wheel
S2000 gauge cluster
Custom Infotainment center (Tablet integration)
Window tint primarily for UV protection
Custom rear interior paneling to fill battery hole
500 Watt amp
8 Infinity Speaker Sound System
Battery Relocation to rear
HID Retrofit (not really interior but whatever, it fits no where else)
Wheels and Tires:
Kosei K1 15X7 wheels
200 TW tire, Undecided.
This is my build so far, I would say that I am about 40% of the way through this project as of right now. I have most of the parts on hand and am gathering more and more each day. I just want a great cruising car that will also get great gas mileage. I want it to be at home on the street as it is on the track. I know this is a lofty goal but I think I have the parts and the know how to do it. Even if I don't quite make it there I will still have one fun Insight to mess around in.
Stay Tuned.....